


photo SEPARATOR_zps16bb71c8.jpg  photo SEPARATOR_zps16bb71c8.jpg  photo SEPARATOR_zps16bb71c8.jpg
Showing posts with label create. Show all posts

Thursday, March 13, 2014

St. Patrick's Day Party!!

Let me just explain....I LOVE St. Patrick's Day!! And half the time I don't even celebrate. haha. I mean that's what happens when you're a school teacher and you have to actually be able to function around children the next day. I mean, honestly...why can't it be like Thanksgiving and you just choose a Friday or Saturday in March for this holiday. Bars would appreciate it, I promise!

And, although I'll probably just have a private little celebration with my husband, I still want to hear the ideas from you guys!! Who knows, maybe we'll party hardy together. haha.

So, because it's a holiday, I can eat all the sweets I want. And I found this gem on Pinterest the other day. It's an Irish Car Bomb Cake!! Who doesn't love an Irish Car Bomb?? And in a cake??? Yes, please!!


Doesn't it look phenomenal?? Ugh...I want that in my mouth right now.

And thanks to Alli at Cupcake Diaries, she came up with a whole list of foods you can make for a St. Patrick's Day party! Um, check out the Thin Mint Brownies. *sigh* I think I'm in love.

And as for decorations...you're welcome. I found some awesome ones!!! And they are all free or super simple.

How cute are these candles?? And you want to know what those green things are??? Split peas!!! How cheap and simple!! I might even do something like this for decor all year!! haha.


And another super simple decor option is this totally awesome canvas!! How easy is this?!?! I mean maybe 15 minutes worth of work?


And a few more....for these all you have to do is print. You can find them here, here, and here!!


Now, the moment you've all been waiting for!! 
THE DRANKS!! 

Shamrock Shooter!!

Tell me this doesn't look amazing! The recipe is super simple, too!! Most likely not everything you have in your cupboard, but it's St. Patrick's Day! Splurge!!

I knew for this I had to find a drank that uses Midori because it's the most beautiful shade of green there is. And Pinterest did not fail!

Midori Cosmo!!

The recipe for this, again, is really easy, but Midori isn't something a lot of people keep on hand. However, a Midori pineapple used to be my drank and if it's Halloween, you can always make one of my famous Dragon's Lair dranks!!

OK it's your turn!! Come link up your favorite St. Partick's Day party ideas!!

 photo Rulesheader_zps312869c4.jpg

1. Follow Hopelessly Ever After via GFC or Bloglovin'.
2. Grab a button from below or my sidebar and put it in your post.
3. Write about your favorite alcoholic beverage.
4. Come back here and link up!!!
5. Get some new recipes or drink ideas for the weekend and make a new friend!!


Anyone interested in co-hosting email Kristin at: hopelessly_ever_after@yahoo.com

 photo linkupheader_zps0ffa7656.jpg


Hopelessly Ever After
<div align="center"><a href="http://www.hopelesslyeverafter.blogspot.com" title="Hopelessly Ever After"><img src="http://i93.photobucket.com/albums/l54/leggs532/linkupbuttonreal_zpsee8b2e2c.jpg" alt="Hopelessly Ever After" style="border:none;" /></a></div>

Sunday, December 09, 2012

*Update* DIY photo canvas

     A few weeks ago I posted this about creating your own photo canvas. I made another canvas yesterday and wanted to update with my changes.

     Here's the new one. Winter themed!!


     Here are the updates. 

          * This looks much better without painting the sides of the canvas. 
          * Walgreens has a white border around their photo. Cut that off before trying to place your photo. 
          * Make sure your strokes while "painting" on the Mod Podge go from the top of the page to the bottom. Otherwise you can see some of the places where you started your stroke when it dries. 

     Other than that this is another super easy project. 

Print your photo, Mod Podge the entire canvas, put the photo on and let it dry, Mod Podge over the entire photo and be sure to seal the edges!!


Photo Wall Decor

     I made this post a few months ago where we personalized some frames with our last name. I had another frame laying around in the basement so I decided to print some photos and hang it. After cleaning off all the dirt and dust I got to work finding the letters I thought would work.

     I had decided to use the word "Noel" since I didn't feel like thinking too long about any other Christmas-y four letter words and used the same site as in my previous post. I narrowed it down to these four letters since they had Christmas colors in them.


     After uploading them to my Walgreens account and picking them up, all I had to do was put them in the frame and I was done. Easiest project EVER!!!


Homemade "Believe" Sign


      I worked on a lot of projects this week. Some are finished and some not, but I feel very productive. We decided on Tuesday to have a Friends Christmas Dinner this weekend and I was not happy with our Christmas decor yet. Wherever Mike and I have lived in the past four years we have turned the entire place into Christmas. This year it took every single Christmas item I had just to halfway decorate the downstairs. It definitely did not feel like our usual Christmas house.

     So, I got to work on making a few things to decorate it up a little more and called Mom for some backup decorations.

     I saw on Pinterest how you can print out letters and trace them onto wood and the pencil or pen will leave an imprint in the wood. Then you can just paint inside the imprint and you have a sign with beautiful font. So...off I went.

    I already had a piece of wood that I could use so I printed off my words and got to work. I tried to take a picture of the imprint but it wouldn't show up. However, here it is after I painted a couple coats on the wood.


     I painted a few more, probably 4 total. Maybe one day I'll learn not to get the cheapest paint out there. lol. Then I decided it needed something more on the other side. So, I got to work looking for a print to use. I found a nice Santa image I liked that didn't seem too hard to replicate so I printed it out and traced it on the wood. I decided to outline this in black. 


     Then, I painted the Santa, again a few coats and added some holly to the corners just to add a little more pizzaz. Then, VOILA!! Done!! Here he is in all his Santa glory!!!


Monday, November 26, 2012

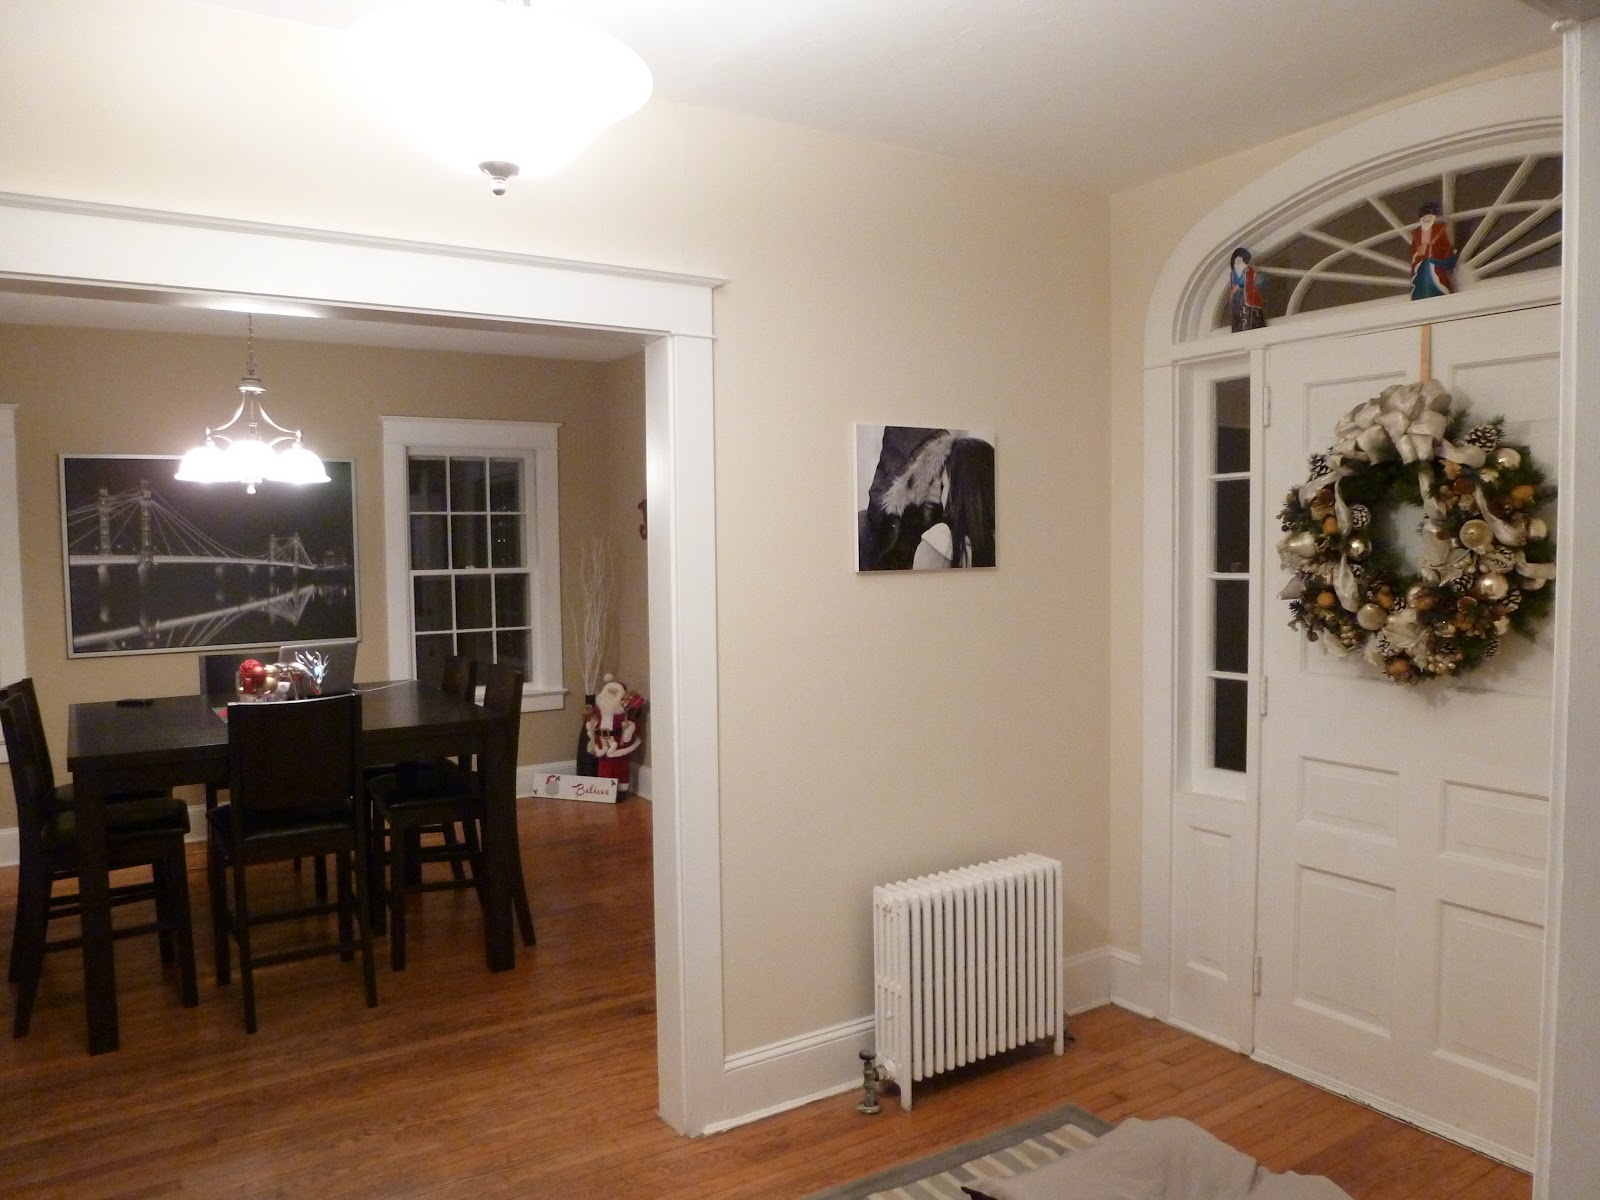
DIY Photo Canvas


     Ever since Mike and I got our pictures back I have been wanting to make one of these canvases. I see the tutorials all over Pinterest and thought how easy it would be to do this. The prices of photo canvases is absolutely ridiculous and there is no way we can afford as many as I want around my house. lol. 

     So...I got the motivation up last weekend and asked my friend, Abby, to join in on this adventure with me. We both braved our sicknesses and took a trip to Walmart to pick up the Mod Podge and her photo print. Then, at about 10pm, we got to it!!

     The process was definitely not a hard one. Time consuming, yes, but only because of all the waiting you have to do for everything to dry. Other than that it was just a lot of spreading, pressing, and sitting.

WHAT YOU NEED:
1 16x20 canvas
Mod Podge - I got mine in matte
your 16x20 photo of whatever print you like 
sponge brush
Xacto knife or razor blade

WHAT YOU DO:
Brush Mod Podge all over the canvas fairly thick. You can spread it on the back of the photo, too if you would like. You want to do this fairly quickly, but don't rush.

Then, place your photo on the canvas evenly and press to stick. ** I used a print from Walgreens. It was a better photo quality than Walmart, but there was an edge of white all the way around the photo. Based on my experience, definitely trim off all that white before you place the photo on the canvas.** I turned mine over on a very clean table and put something heavy on the corners just to make sure they stuck. Let that dry........

     After the Mod Podge dries (I let mine dry overnight) you need to trim the edges. I turned my canvas face down and just lined up the xacto knife with the canvas and cut. With this photo paper I needed to press very hard so make sure you aren't on a surface where you could damage anything. Gently pull off the excess paper. Then Mod Podge over the entire picture/canvas in order to seal the photo to the canvas. 


Don't worry it will dry clear...


Once it dries you are done!!!


     My corners were a little jagged because of the photo paper, but it actually didn't look that bad after the Mod Podging. I sanded down the entire side in order to make it uniform. Next time, I'll keep that in mind.

Before Mod Podge


Monday, October 29, 2012

DIY Earring Holder


I have been trying to get this done for months now. My earrings are in a clump in a drawer in our linen closet. I hate searching for matching earrings so I end up wearing the same ones over and over. Thanks to Hurricane Sandy I am stuck inside on a schools closed day so, why not get her done?!? So easy, if you have the materials.

All I did was use an old frame and some chicken wire or whatever that stuff is called. Here's a close up...

I cut the wire to size and then used my stapler in order to attach it to the back of the frame. A staple gun would work MUCH better. ;) 

DONE!
I spray painted my wire a turquoise color, although you can't tell in the picture, in order to match our theme in the room.