photo SEPARATOR_zps16bb71c8.jpg  photo SEPARATOR_zps16bb71c8.jpg  photo SEPARATOR_zps16bb71c8.jpg
Showing posts with label canvas. Show all posts

Sunday, December 09, 2012

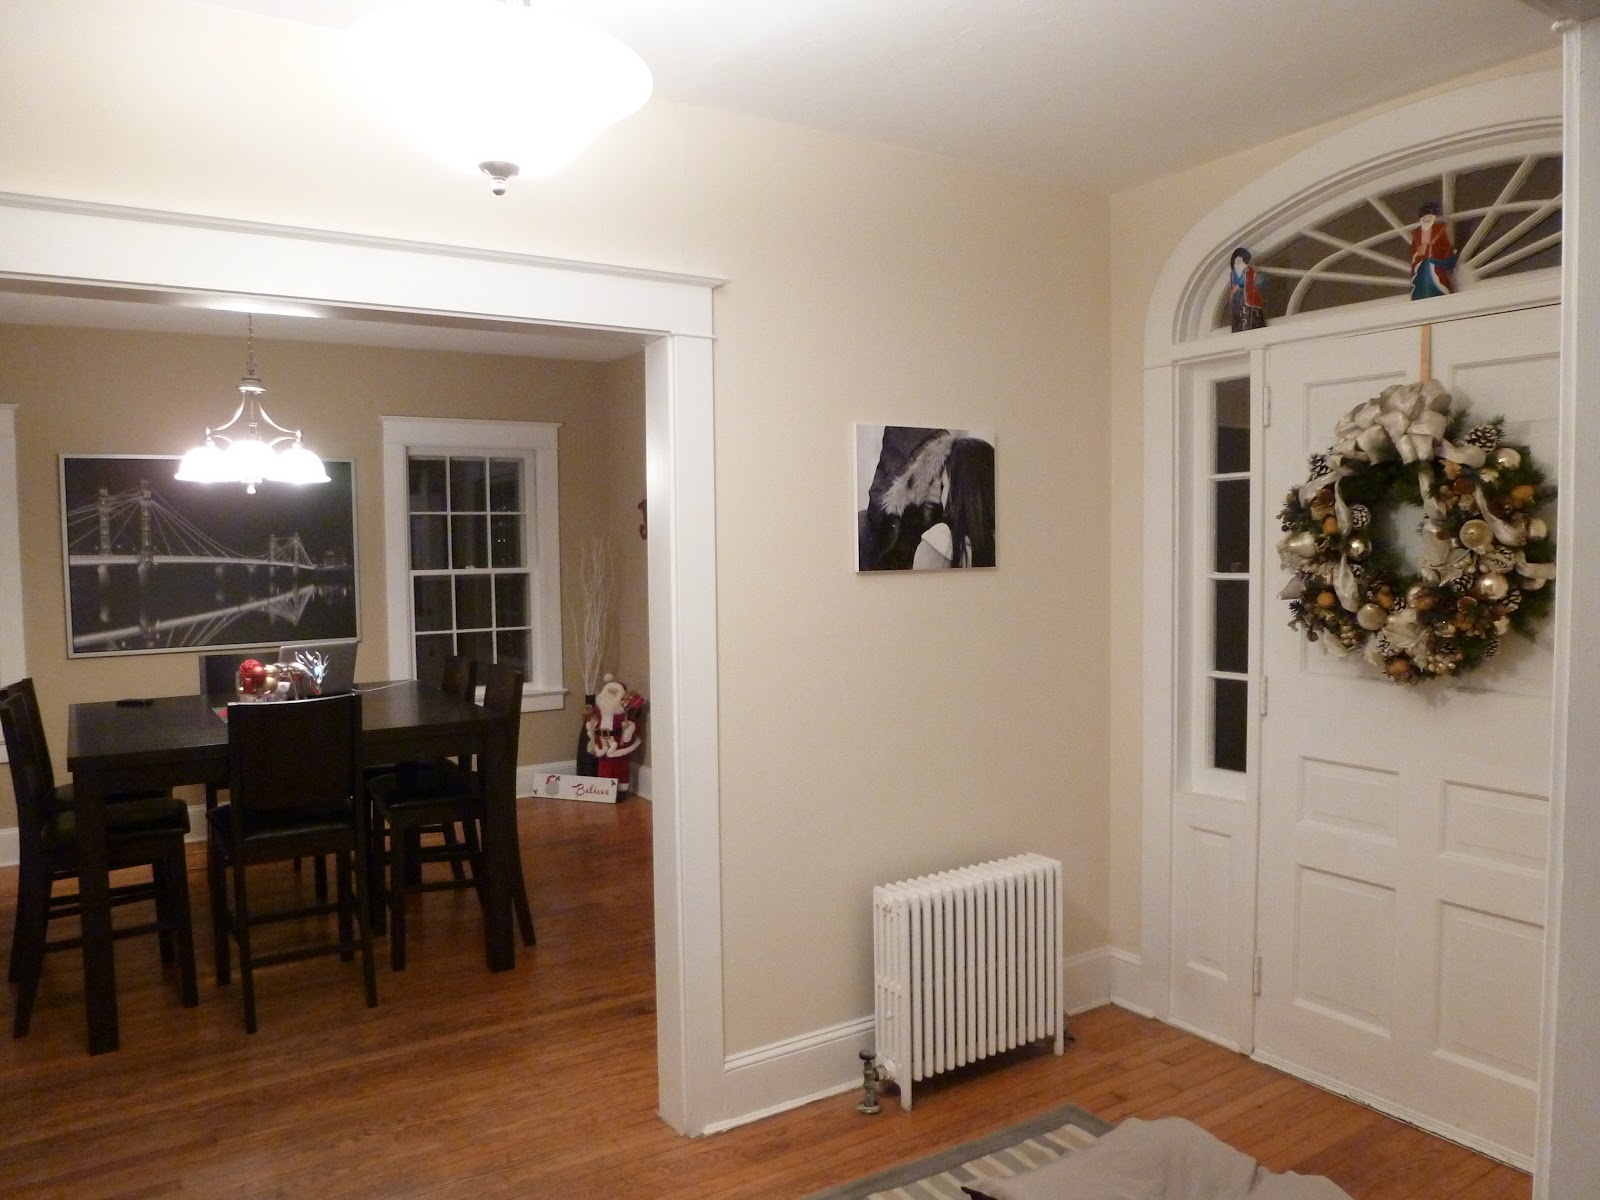
*Update* DIY photo canvas

     A few weeks ago I posted this about creating your own photo canvas. I made another canvas yesterday and wanted to update with my changes.

     Here's the new one. Winter themed!!


     Here are the updates. 

          * This looks much better without painting the sides of the canvas. 
          * Walgreens has a white border around their photo. Cut that off before trying to place your photo. 
          * Make sure your strokes while "painting" on the Mod Podge go from the top of the page to the bottom. Otherwise you can see some of the places where you started your stroke when it dries. 

     Other than that this is another super easy project. 

Print your photo, Mod Podge the entire canvas, put the photo on and let it dry, Mod Podge over the entire photo and be sure to seal the edges!!


Monday, November 26, 2012

DIY Photo Canvas


     Ever since Mike and I got our pictures back I have been wanting to make one of these canvases. I see the tutorials all over Pinterest and thought how easy it would be to do this. The prices of photo canvases is absolutely ridiculous and there is no way we can afford as many as I want around my house. lol. 

     So...I got the motivation up last weekend and asked my friend, Abby, to join in on this adventure with me. We both braved our sicknesses and took a trip to Walmart to pick up the Mod Podge and her photo print. Then, at about 10pm, we got to it!!

     The process was definitely not a hard one. Time consuming, yes, but only because of all the waiting you have to do for everything to dry. Other than that it was just a lot of spreading, pressing, and sitting.

WHAT YOU NEED:
1 16x20 canvas
Mod Podge - I got mine in matte
your 16x20 photo of whatever print you like 
sponge brush
Xacto knife or razor blade

WHAT YOU DO:
Brush Mod Podge all over the canvas fairly thick. You can spread it on the back of the photo, too if you would like. You want to do this fairly quickly, but don't rush.

Then, place your photo on the canvas evenly and press to stick. ** I used a print from Walgreens. It was a better photo quality than Walmart, but there was an edge of white all the way around the photo. Based on my experience, definitely trim off all that white before you place the photo on the canvas.** I turned mine over on a very clean table and put something heavy on the corners just to make sure they stuck. Let that dry........

     After the Mod Podge dries (I let mine dry overnight) you need to trim the edges. I turned my canvas face down and just lined up the xacto knife with the canvas and cut. With this photo paper I needed to press very hard so make sure you aren't on a surface where you could damage anything. Gently pull off the excess paper. Then Mod Podge over the entire picture/canvas in order to seal the photo to the canvas. 


Don't worry it will dry clear...


Once it dries you are done!!!


     My corners were a little jagged because of the photo paper, but it actually didn't look that bad after the Mod Podging. I sanded down the entire side in order to make it uniform. Next time, I'll keep that in mind.

Before Mod Podge


Saturday, August 04, 2012

Pinspired!!

So there have been so many things on Pinterest lately that I figured I would take this summer to explore. I have to say I have not been as productive as I would have liked to, but I did do some things that I figured would be worth talking about. I've tried to keep a board on my Pinterest profile of things that I did, but I hate that I can't use my picture and link to the blog or page where I got the idea from. So...I figured I could use this as the gateway to be able to use my pictures, but include the links to where people can find the recipe, craft, whatever.

Here is the latest...a "U & I" print.


I got this idea from this awesome lady who shows you tons of different easy ideas for DIY canvases. Hers is a little different from mine, and in hindsight there are a few changes I would have made. We went with some boards that had already been precut for various things for our wedding. So, the sizes that we used, I think, are a little too close in measurement. If you are cutting the boards yourself, I would recommend to have some more difference between the "U" and "I" and the ampersand. Other than that this was a pretty easy DIY, if you don't ask my husband. Lol. It took me forever to get this done, but mostly because I had to find the right paint color to match the bedroom. 

Here's how I did it...

You will need:
3 boards or canvases. 2 the same size, 1 bigger
2 colors spray paint
vinyl letters or I just used my projector to trace some on tagboard and then cut them out.
sandpaper (if you want the distressed look)

1. First clean the boards (if you have boards) and let them dry completely.
2. Then, spray paint each board or canvas whatever color you want the letters to be. I sprayed the entire board but that's only because at the end I sanded them down a little so the blue showed through.   
3. Let them dry. I let mine dry all night so I was sure the tagboard wouldn't stick to the board. (I'll explain that one a little later.)
4. Place the letters wherever you want them on the board and spray the border color over the entire board. If you are using the tagboard approach, be sure to press the letters down hard when you are spraying. I actually used Mike for this because it seemed to take two people to make sure there was no underspray. If you have vinyl letters it would be much easier. 
5. If you use tagboard, carefully pull the letters off immediately after spraying. During one of my trial runs I left the letters on because I was afraid I would smear the paint. When I went to pull them off they had stuck to the board. It was a pain in the butt and I still have remnants left on my finished product. If you use vinyl letters, once again you won't need to worry about that. I'm sure it won't be a problem if you are doing these on canvas either.
6. I used sandpaper at the end to kind of go over the whole print. It not only gave it more of a vintage feel but it also helped correct some of the imperfections.

That's it!! Super easy and all together it probably would have only taken me two days because of the drying time. The spraying only took about 20 minutes in all. :)