photo SEPARATOR_zps16bb71c8.jpg  photo SEPARATOR_zps16bb71c8.jpg  photo SEPARATOR_zps16bb71c8.jpg

Sunday, February 10, 2013

Heart-y Beef Stew


     Someone came into work last week with a bowl of beef stew for lunch. Now, I'm not normally a beef soup kind of person. But it smelled delicious!! So, knowing that Mike loves any kind of beef stew I set out to look at a few recipes.

     My mom's birthday was last Monday so we had her over for dinner on Wednesday along with my sister and the kids. I had suggested that we make the stew then, but Mike had another dish in mind. Plus, he said he only gets beef stew every once in a while so he wants leftovers. lol. Needless to say, we never made it, but it's been on my mind. 
     
     This weekend, Mike's friend Ryan had his bachelor party. Instead of the typical club/bar scene with half naked ladies, Ryan kept it classy. The boys went to WISP for the weekend and had a blast skiing. This was perfect because Mike has been begging me to ski for the past 5 years. You see, I AM NOT a skier. I've been a few times but hurt myself pretty badly the last time and I have been scarred ever since. I've tried explaining that I'm perfectly fine sitting in our cabin with a bottle (or two) of wine and making at hot dinner for everyone when they're done, but that's not good enough. At least with this boys weekend Mike got to ski a little and get his fix. 

     Thinking about Mike being out in this cold all weekend reminded me of this beef stew. Fortunately for me, I didn't have too much of a boring weekend. My friend Taylor and I went to sushi on Friday and mom and Lynn and I went on a shopping spree all day yesterday. So today was my only down day and I figured what better way to keep me busy than some beef stew!!


P.S. These ingredients look like a lot, but it's all stuff you would have on hand.

P.P.S. You'll also notice that I used this Pinterest idea to make my carrots into hearts in honor of Valentine's Day this Thursday!! Hence the name "Heart-y"


Heart-y Beef Stew
INGREDIENTS:
     1-2 pounds cubed beef for stew
     1 tablespoon oil
     3 or so cups beef broth
     2 cups water
     1 tsp Worcestershire sauce
     1 tsp garlic, minced
     2 bay leaves
     1 medium onion, chopped or sliced
     1 tsp salt
     1 tsp sugar
     1/2 tsp paprika
     1/2 tsp pepper
     dash garlic powder
     few dashes of celery seed (I don't like actual celery in my soups so this was my alternative.)
     3 large carrots, sliced
     3 large red potatoes, quartered
     1 cup frozen whole kernel corn
     1 can green beans, drained
     
DIRECTIONS:
     Brown beef in hot oil. Add water, Worcestershire, garlic, bay leaves, onion, salt, sugar, paprika, pepper, garlic powder, and celery seed. Cover and simmer 1- 1/2 hours. Add carrots, potatoes, corn, and green beans. Simmer another 30-40 minutes. DONE!! 


     If you want to thicken the broth about 1/4 cup of the broth and 1/4 cup of milk with flour until it makes a pancake consistency. That's why my broth looks a little greenish. :)

Wednesday, January 23, 2013

Spinach and Sausage Quiche


     As I mentioned before, Mike and I are really trying to eat a lot healthier. It seems like we had gotten into a rut with our food and it was mostly whatever we had around the house. Unfortunately, what we had around the house wasn't all that great for you. 

     Mike is very body-conscious and works out all the time. Working out doesn't easily fit into my schedule but I've been back at it for about a month now. I'm starting to feel really great about myself, especially because this is the first time we have worked out AND eaten right while doing it. We always seem to kind of mix up the two. Either we eat right, or work out. As hard as it is to say, I have gained about 20 pounds since we got married. No it's not the typical marriage weight, it's being lazy (mixed A LOT with a new medication to prevent another O'Neil from coming into the world too soon. lol.) so I'm determined this time to get myself right once and for all.

     I have been mentioning making quiche forever, but for some reason Mike always kind of blows it off. I guess I made a good argument last night when I started talking about how it would be a nice change for our healthy meals. Such a good argument Mike suggested we make it tonight!! :)

     I can't take the credit fort his meal, however. I came up with what we would put into the quiche, but Mike actually made it. It's hard work driving an hour to and from work, working all day, then hitting up the gym after school for about 90 minutes. Our dishes have been put off for about 4 days now, so that was my job. I didn't hear too much complaining out of Mike. 

     Anyway, this was AMAZING!!!! Mike and I both admitted being a little skeptical seeing as how we have never made quiche before, but Oh My Goodness!!! I've already started thinking about what can go into our next one!!

Spinach and Sausage Quiche
INGREDIENTS:
     3 links of Sweet Italian turkey sausage, removed from casing and cooked (use whatever kind of sausage you want but the turkey sausage is healthier!!!)
     1 premade pie crust, the roll out kind
     5 eggs
     1 1/4 cups milk
     1/4 cup red pepper, diced
     1/4 cup onion, diced
     1/3 cup shredded pepper jack cheese
     small handful of spinach leaves
     few dashes of garlic powder, salt, pepper

DIRECTIONS:
1. Preheat oven to 350 degrees and spray your pie pan with non-stick spray. Prepare your crust in your pan.

2. In a small mixing bowl, blend the eggs and milk. Then stir in onions, peppers, sausage, half the cheese, spinach, and seasonings. (You can also wait and sprinkle these in after adding about half of the egg mixture to your pie, then cover them up with the rest of your egg. Your choice.)

3. Pour egg mixture into pie. Sprinkle the rest of the cheese on top.

4. Bake for about an hour or until pie browns on top. When you take it out give it a little jiggle and make sure nothing is moving. You want to be sure the egg is cooked all the way through.

Then, enjoy!!

*A suggestion...The pie crust was still a little underdone on the bottom. Mike and I thought it might work better if you bake the pie crust for a few minutes before adding the ingredients. Quiche is typically softer on the bottom, but if you like yours a little crispier, this might be a good idea. *

...I also read where you can partially bake these and then freeze them!!
     

Tuesday, January 15, 2013

Skinny Mini Chicken Pot Pies


     Mike and I have been eating healthy for about 2 weeks now. There isn't much variety in our meals. Salad, cheeseburger wraps, chicken and rice, salad with chicken, salad with tuna, etc. Boring...so I made it a point today to find something that would be completely different yet still healthy.

     I have been keeping a board on my Pinterest page for healthy ideas. It's just any exercises, food, inspiration, etc that I come across to keep this healthy living up. A few days ago I came across this recipe for these mini chicken pot pies. They seemed pretty east and looked delicious so...I went for it!!

These were AWESOME!! You would never even guess they are skinny!! Supposedly only 185 calories!!!

Skinny Mini Chicken Pot Pies
INGREDIENTS:
     1 can Pillsbury Grands Jr. (10 count)
     1lb chicken, cooked and diced
     1 10.75 oz can reduced fat cream of chicken soup
     1 cup frozen mixed veggies, thawed
     3/4 cup shredded cheese
     1 tsp dried italian seasoning
     1 tsp onion powder
     1/4 tsp black pepper

DIRECTIONS:
1. Preheat oven to 400 degrees. Using a 12 cup muffin pan, spray 10 of the cups with cooking oil. Pour a little water in the other two when baking.

2. Separate the biscuits and flatten out each so when they are placed in the muffin tins they create a cup.  The dough should come up the sides of the muffin cups.

3. In a medium sized bowl, mix together the chicken, soup, mixed vegetables, cheese, and seasonings. Spoon the mixture into the "biscuit cups" evenly.

4. Bake for 12-15 minutes or until golden brown on top. Remove from oven and let stand for 2-3 minutes. Serve right away. Use a knife to help you pull each "pie" from the tin.
   

Monday, January 07, 2013

Slow Cooker Cheesy Rice and BBQ Chicken Burritos


     I know what you're thinking....what a stretch!! Well, it's that kind of night here in the O'Neil household. We really didn't know what we were going to do until my ride home from school. When Mike got off work this morning (that's right, he works night shift I work day shift. What a marriage!!) he said he was going to put some chicken in the crock pot with BBQ sauce. Truthfully, I was exhausted and on my hour long drive to work so I could care less what we were having for dinner.

     On the way home I started thinking about what Mike thought we were going to do with the BBQ chicken. We usually do BBQ Chicken sandwiches but we have been trying to eat a little healthier. (Don't mind the peanut butter cookies in the last post. Those were from Christmas.) Plus, we don't have any rolls and I hate stopping on the way home. Something popped in my head about wraps, but I had one for lunch. Then...ding, ding, ding!!! I called Mike to make sure we had everything I needed, which is only 2 additional ingredients, and then planned my attack!

     This was so easy, especially because when you get home the chicken is already done. All you have to do is shred it!! And you can really use whatever rice you want, but all we had was Rice-A-Roni. Yes, we're aware that isn't really the healthiest choice but...that's what happens when it's what you have in your pantry and you're broke because they have now decided to take even more taxes out of our paychecks. :)

Ok, so here it is. Sooo easy!!

Slow Cooker Cheesy Rice and BBQ Chicken Burritos (whew that was a long title)
INGREDIENTS:
     1 lb boneless skinless chicken breasts
     1 thing (brainfart) of your favorite BBQ sauce (We used some kind of Heinz something? Sale!!)
     1 pkg Four Cheese Rice-A-Roni
     flour tortillas (use whole wheat and make it even healthier)

DIRECTIONS:
1. Put chicken and BBQ sauce in slow cooker on low for 6-8 hours. Shred in slow cooker and leave cooking until rice is done.
2. Prepare Rice-A-Roni as directed on the package.
3. Preheat oven to 350 degrees.
4. Put a healthy spoonful of rice onto tortilla. Then, put an even healthier few spoonfuls of BBQ chicken on top of the rice. Fold/roll the tortilla into a burrito.
5. Place in a baking dish and bake for 15ish minutes until burrito is a little crispy. (Can you tell when I make up my own recipes??)
6. Enjoy!!

So many things you could do to this, too. Add cheese. Do some kind of white beans instead of rice. Add french fries. Don't judge me. Whatever you usually do with BBQ chicken, put it in the wrap!

Sunday, December 30, 2012

Reese's Peanut Butter Cookies


     As much as it is a disappointment to me, Mike and I never actually make "Christmas" cookies. We always seem to just make whatever cookies we like. This year I was determined to make something a little different, however, which brought me to these Reese's Peanut Butter Cookies.

     These cookies were super easy. I found a few recipes using Reese's Mini's but eventually landed on this one from Six Sisters' Stuff which is an awesome blog that I follow on Pinterest. I wanted the Reese's to be mixed up into the batter so I changed things up just a little.

Enjoy!!

Reese's Peanut Butter Cookies
INGREDIENTS:
     1 cup butter
     1 cup brown sugar
     1 cup granulated sugar
     2 eggs
     1 1/2 cups creamy peanut butter
     2 1/2 cups all-purpose flour
     1 teaspoon baking soda
     1 teaspoon vanilla extract
     1 8oz pkg mini Reese's cups

DIRECTIONS:
1.  Preheat oven to 350 degrees.
2.  Cream butter, sugar, and peanut butter together.
3.  Add eggs, flour, baking soda, and vanilla extract to sugar mixture and mix. Blend in Reese's minis.
4.  Roll dough into 1 inch balls and place on an ungreased cookie sheet.
5.  Bake for 10-12 minutes or until golden brown.

Sunday, December 09, 2012

*Update* DIY photo canvas

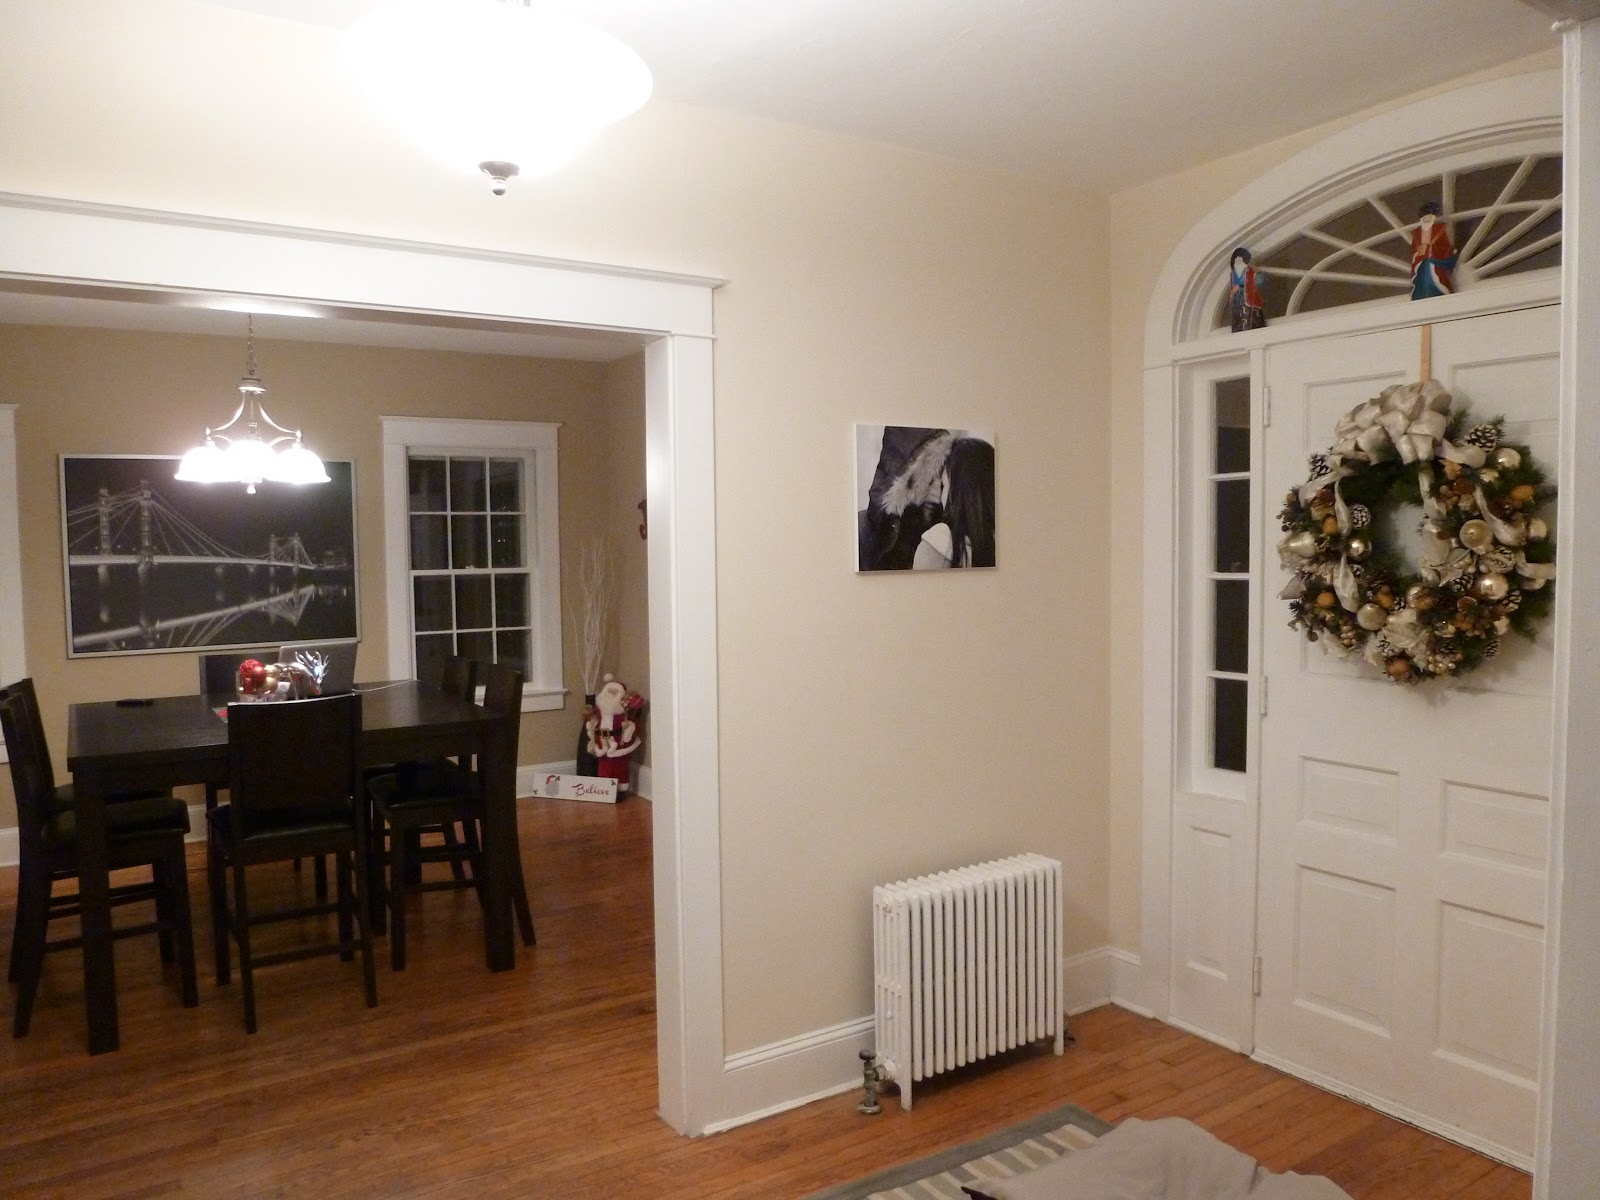
     A few weeks ago I posted this about creating your own photo canvas. I made another canvas yesterday and wanted to update with my changes.

     Here's the new one. Winter themed!!


     Here are the updates. 

          * This looks much better without painting the sides of the canvas. 
          * Walgreens has a white border around their photo. Cut that off before trying to place your photo. 
          * Make sure your strokes while "painting" on the Mod Podge go from the top of the page to the bottom. Otherwise you can see some of the places where you started your stroke when it dries. 

     Other than that this is another super easy project. 

Print your photo, Mod Podge the entire canvas, put the photo on and let it dry, Mod Podge over the entire photo and be sure to seal the edges!!


Photo Wall Decor

     I made this post a few months ago where we personalized some frames with our last name. I had another frame laying around in the basement so I decided to print some photos and hang it. After cleaning off all the dirt and dust I got to work finding the letters I thought would work.

     I had decided to use the word "Noel" since I didn't feel like thinking too long about any other Christmas-y four letter words and used the same site as in my previous post. I narrowed it down to these four letters since they had Christmas colors in them.


     After uploading them to my Walgreens account and picking them up, all I had to do was put them in the frame and I was done. Easiest project EVER!!!